Prerequisites
In this tutorial, and the upcoming tutorials it will be assumed that Ansible is used inside a Python Virtual Environment. The advantage of this is that we can have a separate set of packages that will be installed in isolation with regards to the operating system, making it very useful to work with different projects and control the dependencies more granularly.
I wrote this using Linux Ubuntu, but the steps should be transferable to any OS you use.
Create a virtual environment
Update your package list
$ sudo apt-get update
Ensure
pipis installed:$ sudo apt-get install python-pip
Ensure
virtualenvis installed:$ sudo pip install virtualenv
Create a virtual environment using python3, under
~/.venv$ virtualenv -p $( which python3 ) ~/.venv
Important
The virtual environment can be created anywhere in your filesystem, and can have any name.
Activate a virtual environment
You will be doing this quite often, so please keep this command handy:
$ source ~/.venv/bin/activate
(.venv) $
After this you will notice how the Linux prompt has changed, adding (.venv) at the beginning.
Deactivate a virtual environment
To deactivate the virtual environment simply run:
(.venv) $ deactivate
$
After this you will notice how the Linux prompt returns to its original state.
Important
Note: for the purpose of this tutorial leave the virtual environment activated at all times.
Install Ansible (inside a Python virtual environment)
Get the latest stable release (2.7 at the moment of this guide):
(.venv) $ pip install ansible
Verify Ansible has been intalled:
(.venv) $ ansible --version
ansible 2.7.6
Install VirtualBox
We’ll use VirtualBox as virtualizer on this tutorial. It will help to create small local VMs that we can use to test our playbooks and roles against.
Download the latest version from the website here.
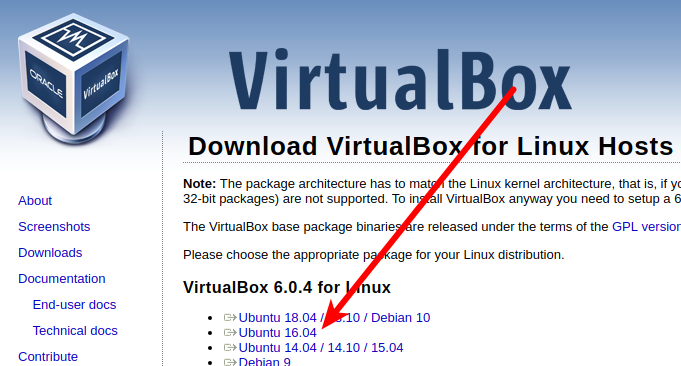
- Make sure to specify the correct version of your operating system.
Install the
.debfile by opening it (or use$ dpkg -i FILENAME, making sure to specify the right file name)
Install Vagrant
We will use vagrant to quickly spin up virtual machines, using VirtualBox as a provider (Vagrant will use it by default). You can think of Vagrant as a VirtualBox wrapper, which can be used to manage virtual machines programmatically. For more info please visit the Vagrant website.
Download the latest version from the download page (2.2.0 at the moment of writing this):
$ wget https://releases.hashicorp.com/vagrant/2.2.0/vagrant_2.2.0_linux_amd64.zip
Unzip the downloaded file
$ unzip vagrant_2.2.0_linux_amd64.zip
Add to the user binaries path
$ sudo mv vagrant /usr/local/bin/
Verify Vagrant has been installed
$ vagrant --version
Vagrant 2.2.0